In continuation of our series on how to install a SQL Server 2012 clustered instance, let´s begin the actual installation, starting from the first node.
The objective of this second blog post in my series of three is to demonstrate how to install the first node of a clustered SQL Server 2012 instance and how to basically manage it from the Failover Cluster Manager tool, on Windows Server 2012 R2.
Just to refresh our memory, this is our infrastructure:

For more details about the prerequisites and a general explanation, check out Part 1 of this series.
The installation: Starting from the very first node
So let’s start the installation. If you remember, I mentioned that we have two steps to complete the installation on both nodes. For now we will start doing the new instance installation in one of the nodes. This node will be W2012SRV03.
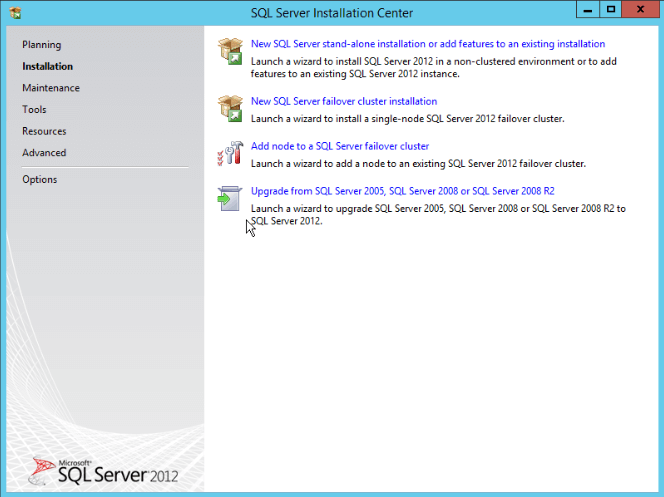
- With the SQL Server installation binaries available, click “Setup”:
- The SQL Server Installation Center will open. Click “Installation” in the left menu, then select “New SQL Server Failover Cluster Installation”:
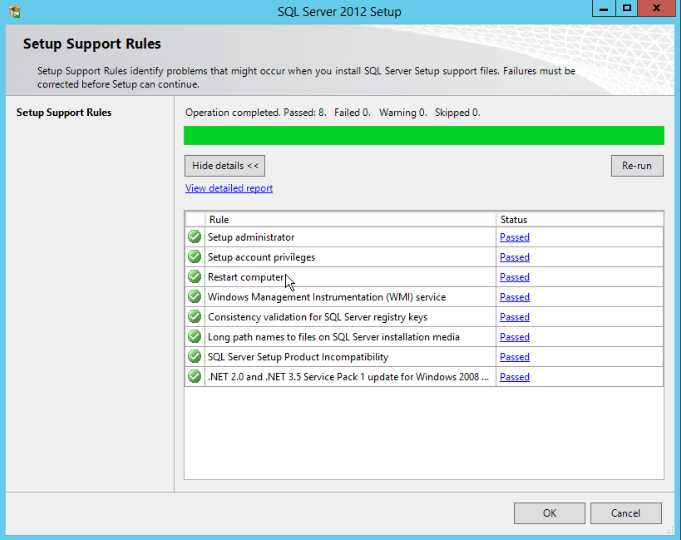
- A check will run in order to find possible constraints when installing the SQL Server Setup support files. At the end of the check, click “OK”:
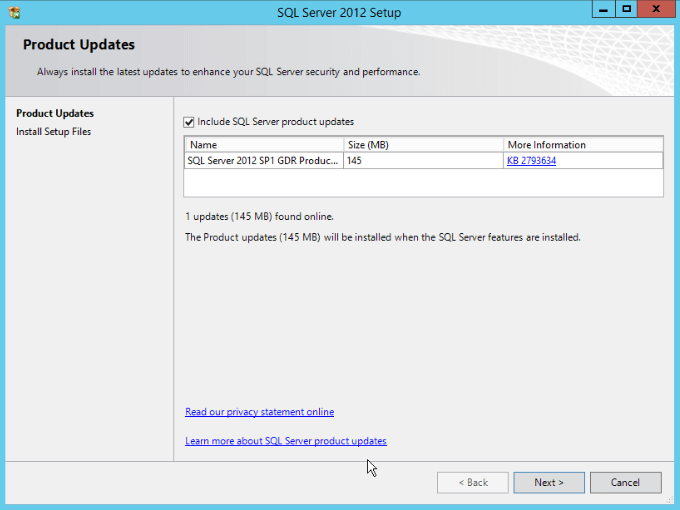
- Now the installation will check for available updates, I recommend that you include those updates into the installation. Click “Next”:
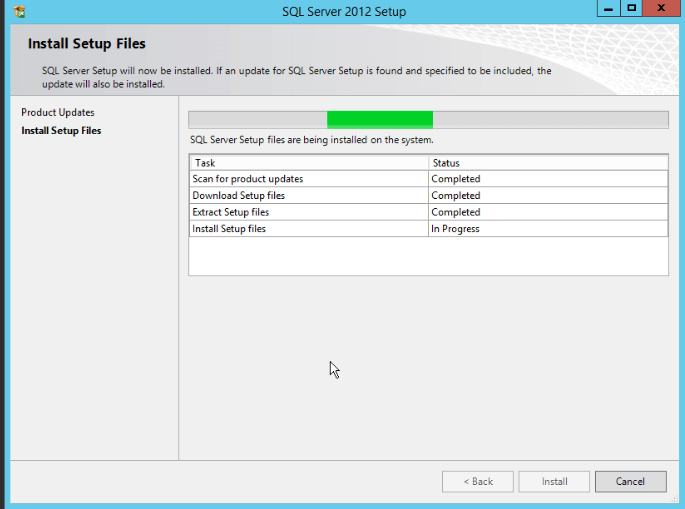
- At this step, the setup support files will be extracted and installed, click “Install”:
- Finally, we have all the setup files installed. Another check will run in order to validate if problems might occur when SQL Server files is installed.
Best Practice:
It’s recommended to have a clustered MS DTC resource, as well as a dedicated MS DTC resource dedicated to each SQL Server group.
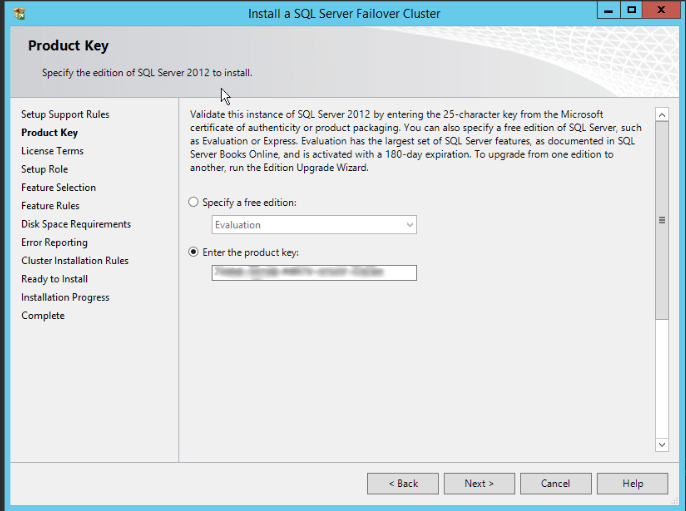
Here is a link to a good resource about this theme: https://blogs.msdn.com/b/cindygross/archive/2009/02/22/how-to-configure-dtc-for-sql-server-in-a-windows-2008-cluster.aspx - At this step, just insert the product key and click “Next”:
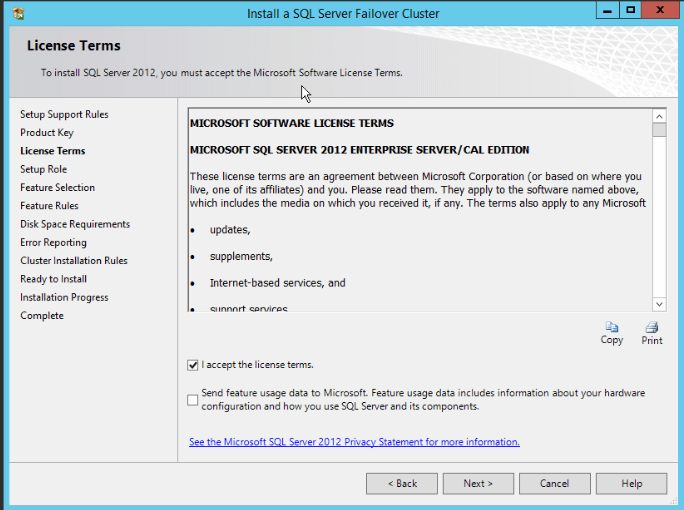
- Select “I accept the license terms” and click “Next”:
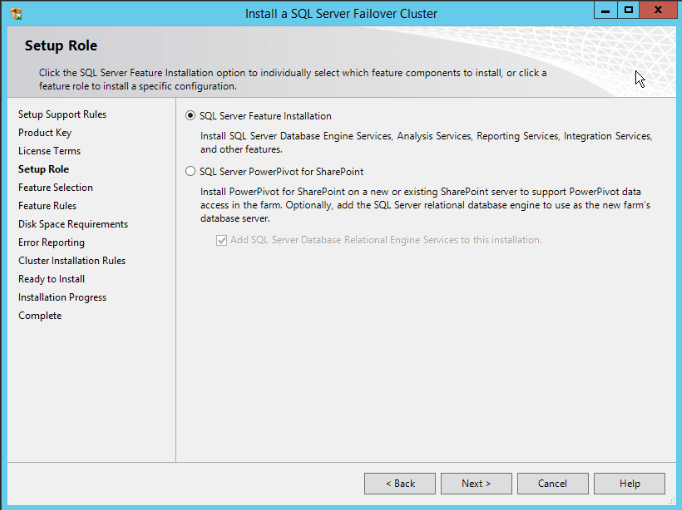
- To install a SQL Server clustered instance, choose the first option “SQL Server Feature Installation”. Click “Next”.
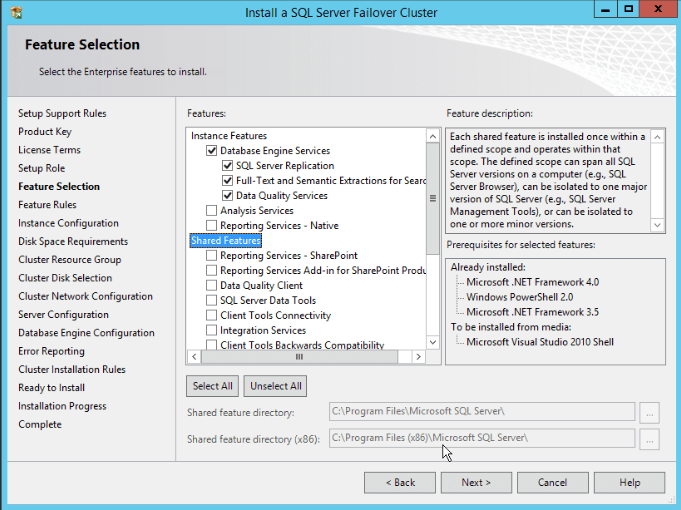
- Here we have few options to install on “Instance Features” and “Shared Features” sections.
For “Instance Features” pick the “Database Engine Services” item.
For “Shared Features” pick “Management Studio (complete)”.Another important point here is the directory that the shared tools will be installed. A good practice is have a dedicated local disk to install SQL Server related files. In the image I’m using the drive C, the same that I have my OS. This is my lab, so I advise that this is not a good practice for a productive system. Click “Next”.
- At this step another check will run, this time to identify problems that might block the setup, based on our choices of the last step. Just wait for its completion and click “Next”.
- This is an important step: Here we will define the instance network name (one of our prerequisites), whether we will use a default or name instance, the Instance ID and the instance root directory.A few things to consider here:
– On “Detected SQL Server instances and Features on this computer” section, we already have one instance installed. So I had to use a named instance and change the Instance ID to do not conflict with the existing one.
– Based on the information above, to connect to our instance we will need to use: SQL04\\DB.
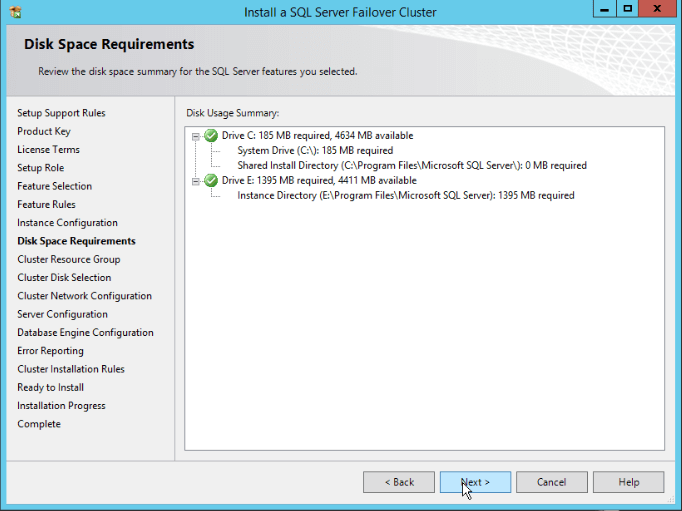
– Another important point is the “Instance root directory”: It’s recommended to use a dedicated local disk to install the SQL Server binaries. Avoid using the system drive, a.k.a. “drive C”.Fill and verify all the points an click “Next”: - This step confirms if the disk space requirements are being met. Click “Next”:
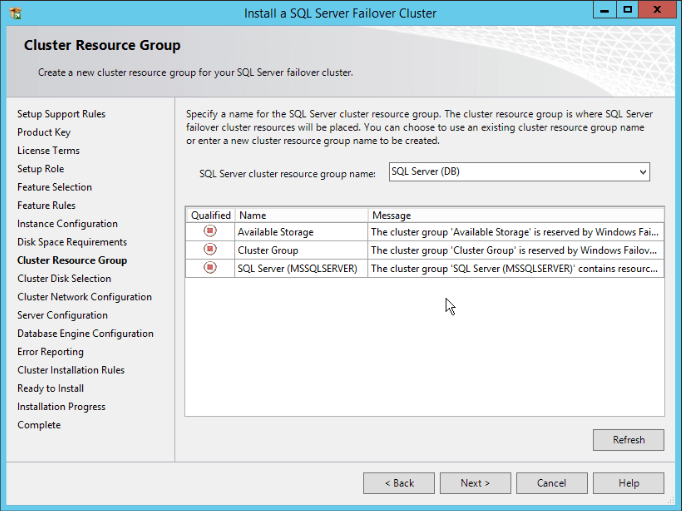
- Now this is related to the Cluster Resource Group name to be used. The installation suggests a name, but you can change it.
This window also shows the reserved and already used Resource Group names. Change the Resource Group name if you are not satisfied with the suggestion and click “Next”:
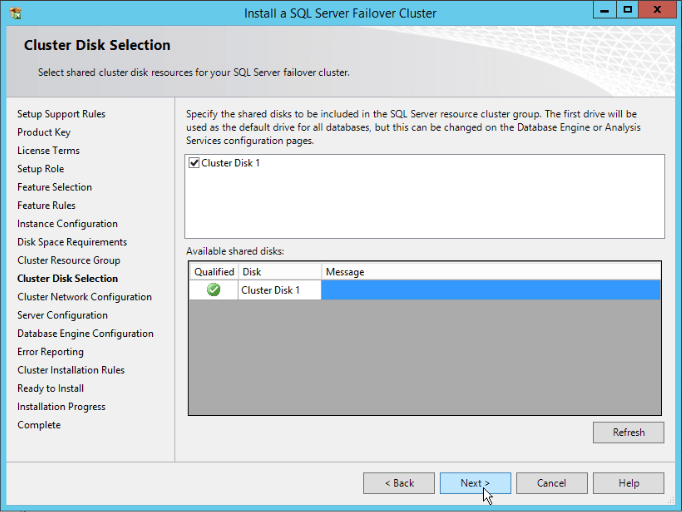
- Now the disks! Another piece of the prerequisites has been shown. At this step, we will have the information of all available storage to be used on our new clustered instance.
As mentioned before, I have only on available disk for this guide, so let’s use this. Just select the desirable disks and click “Next”:
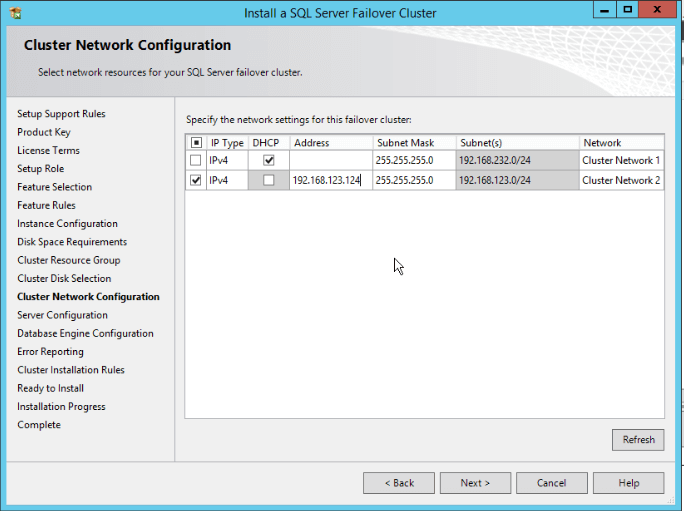
- Do you remember the requisite of an IP? It’s time to use it! Just pick the network that you will use, unmark the DHCP column and fill the address column with the value of the IP. And… “Next”:
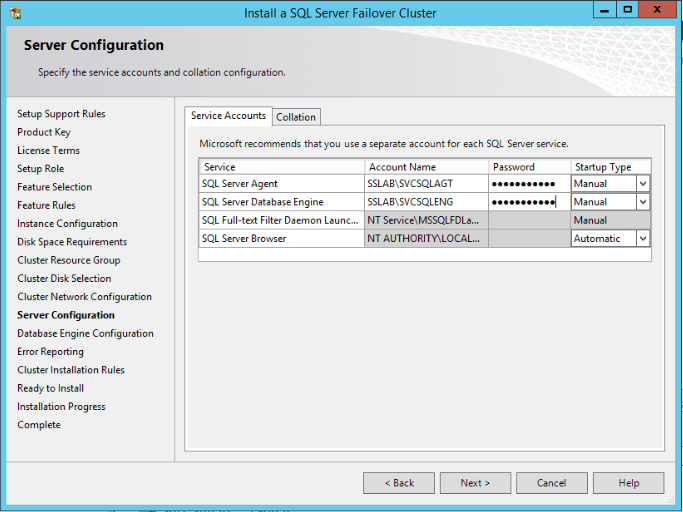
- Here is our last requisite: Service Accounts. Fill the information about the SQL Server Engine and Agent service account (login and password).
Note: For a clustered instance, the “Startup Type” for the services should be as “Manual”. The Cluster Service will manage this for us.
Click “Next”.
- At the same step, we have another tab where we can define the collation to be used in our database engine. By default it has “Latin1_General_CI_AS”.
For more information about collations, click here. This can be a very important choice! If you have an special collation requirement, don’t forget to select the right one during the installation, otherwise you will have a hard work ahead to change this. - Now we need to choose the authentication mode of our instance.The options are either “Windows Authentication”, which will take benefit from domain and local server logins, or “Mixed Mode”, which accepts Domain/Windows logins as well as logins created and managed by SQL Server.If you pick “Mixed Mode” a login called “sa”, member of the “Sysadmin” role will be enabled. For this reason we need to specify the password for this login.In the box bellow, we need to add all domain/Windows users that have access to the instance and will be part of the “Sysadmin” fixed server role. You need to use the three buttons to add/remove logins from this list:
- Now it’s time to define the disk strategy.This step worth an entire article — I’m using only one disk for demonstration purposes, but the recommendation is to use one isolated disk for each one of the points.
The general rule here is: The most spread, the better!We could use a layout like the following:
The only thing that we cannot specify directly is a place to store the non-clustered indexes. This separation of the non-clustered and clustered index is a case aside.
Points to take attention here:
- Isolate the TempDB in a fast disk. Remember: From SQL Server 2012 we can store the TempDB in a local disk on clustered installations!
- Place your data files in one disk and log files in another one.
- Request the disks with an appropriate RAID level.
- Pay attention to the partition offset and block size before the installation, even if you are using a Windows 2008+ OS.
After consider all those points, set carefully the disks for each point and click on “Next”.
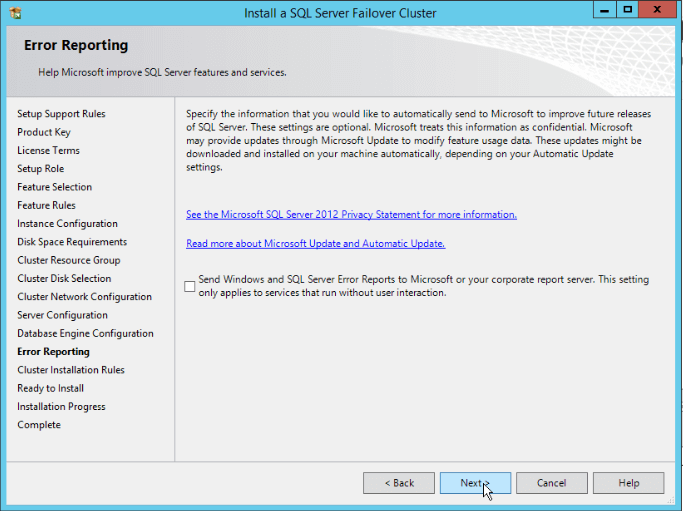
- Here you have an option to send error reports or not. Click “Next”:
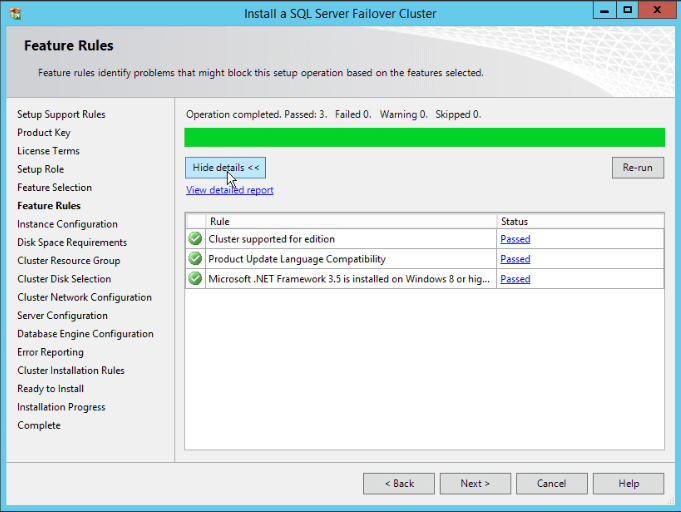
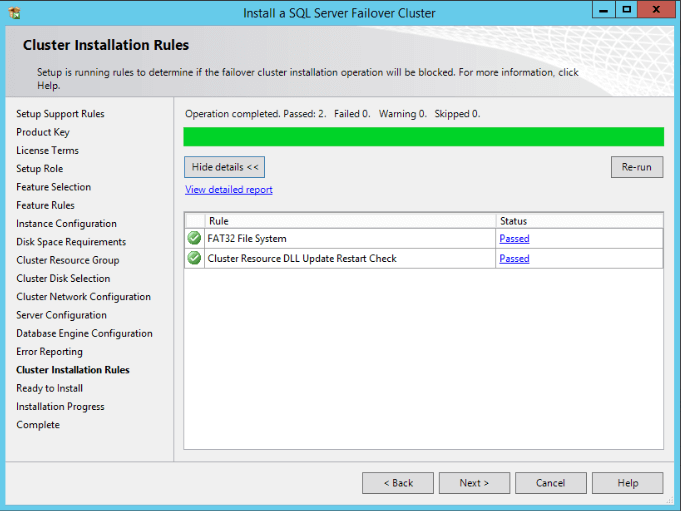
- Another check will run to verify if the failover cluster installation will be blocked. After the check, click “Next”:
- Here we will be able to review all chosen options. Review and click “Install”:
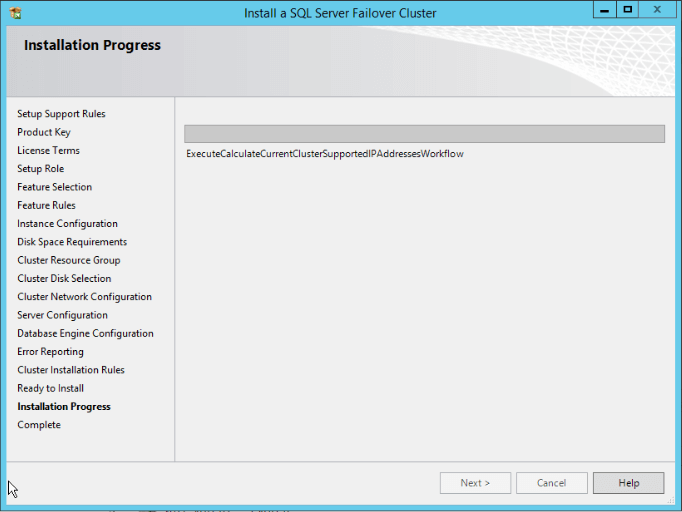
- The installation will begin — wait for completion.
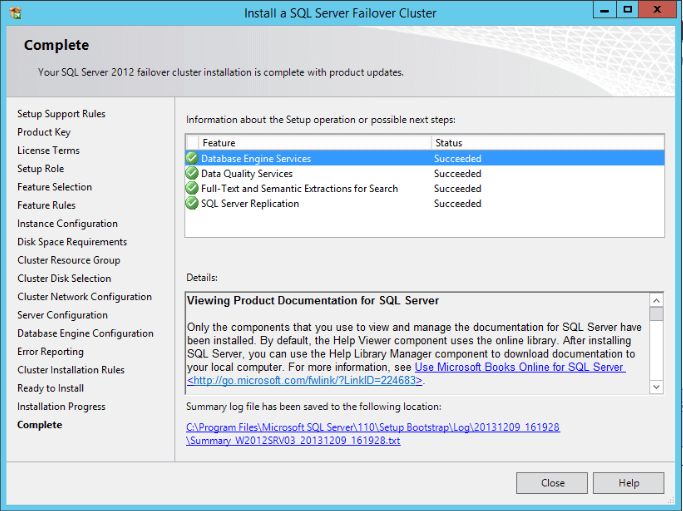
- In the end you will have a confirmation about the success or not of each feature installation.
You are done here! Click “Close”:


On this second part, we passed for all the steps to install the first node of a clustered instance. Of course some points will be slightly different from your environment, but here are pretty much all the steps to follow. After the completion of this installation you will need to add the other nodes to this clustered installation and you will be able to see the SQL Server “Role” created into the WFC Manager.
Dealing with Failover Cluster Manager
As we already have one node of our clustered instance installed, we will need to manage its resources using the Failover Cluster Manager tool.
- Click on the “Windows Key”+R.
- Write “cluadmin.msc” and click on “Ok”.
- The Windows Failover Cluster will be opened.
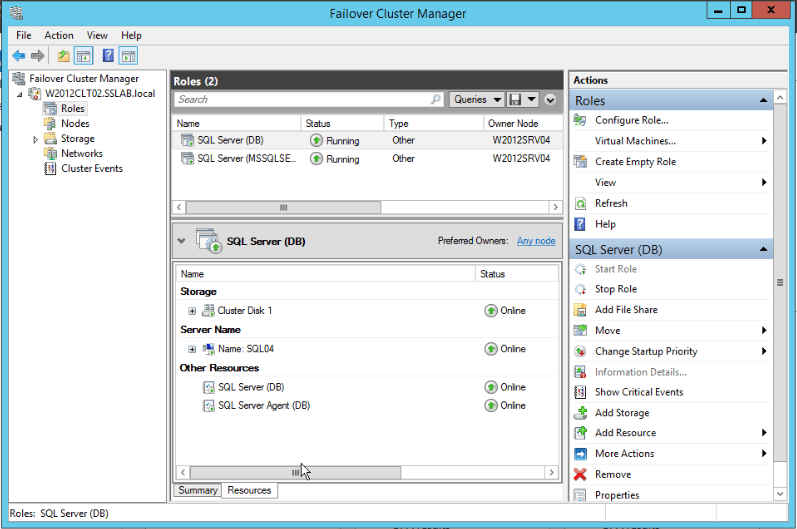
On the image you can see two “Roles”, representing two clustered SQL Server instances. The labeled as “SQL Server (DB)” is the one that we installed (Do you remember the choice made on the step 14?).
Selecting this Role will show all the resources that are part of this clustered installation, such as IPs, Disks, etc.
At this point, we have the clustered instance installed into one node only, so we cannot do a failover yet.
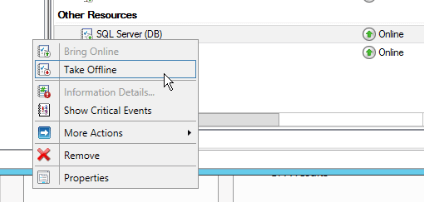
To stop the SQL Server, which will stop also the SQL Server Agent, right-click over the SQL Server Engine service and do the following:
In other hands, to start do the following:
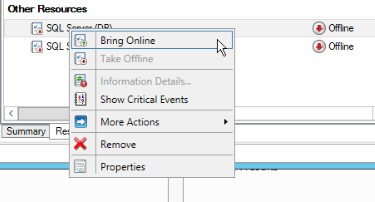
Note: When you start the SQL Server, the agent service needs to be started also. One way to reduce the number of steps is first start the Agent, this way, the SQL Server Engine will start automatically. The reason is that the SQL Server Agent is dependent of the SQL Server Engine, this way WFC will try to start the Engine service prior to start the Agent.
Another very important item are the dependencies of our SQL Server.
To check that:
- Right-clicking the SQL Server Engine service.
- Click on Properties.
- Select the “Dependencies” tab.
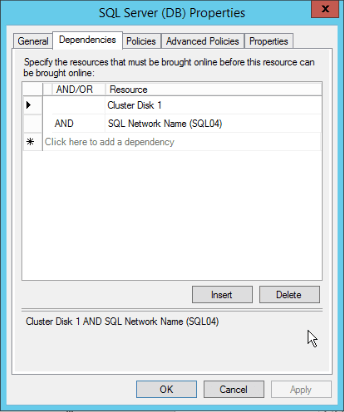
This way you can see all the resources that the SQL Server Engine is dependent. Looking for our picture, if either the “Cluster Disk 1” or “SQL Server network name (SQL04)” fails, the SQL Server Engine will shutdown/failover!!
All the clustered resources can be dependent of another resource. For example, the “SQL Server network name (SQL04)” is dependent of the IP. This way, if the IP fails, the resource “SQL Server network name (SQL04)” will be offline and this will fire a SQL Server failover/shutdown.
What to take from here?
Check the dependencies and conditions on this tab, this can be useful to increase you availability rate!
As a practical example:
All the disks are important, but if the backup disk fails, we can continue with the service online, and fix the problem in background. But, if the SQL Server is dependent of this disk, we will have a failover/shutdown.
So, pay attention to this!
What’s next?
After completing the second step, we already have our instance working on a clustered environment, but we have only one available node. We will complete this series with more two parts:
- Adding another nodes to our WFCI.
- Configuring a dedicated MS DTC resource for our SQL Server Role.
If you haven’t already read it, find the first blog post in this series, Step-by-Step Installation of a SQL Server 2012 Clustered Instance — Part 1.
Next, find the third blog post in this series, Step-by-Step Installation of a SQL Server 2012 Clustered Instance — Part 3.
Finally, find the fourth blog post in this series, Step-by-Step Installation of a SQL Server 2012 Clustered Instance — Part 4.
Pythian is a global leader in data consulting and managed services. We specialize in optimizing and managing mission-critical data systems, combining the world’s leading data experts with advanced, secure service delivery. Learn more about Pythian’s Microsoft SQL Server expertise or check out some more SQL Server-related blog posts.